Chức năng Process Costing Marker là chức năng được sử dụng tạo sơ đồ, mục đích tính tạm định mức ngay trên phần thiết kế Pattern Design của phần mềm Gerber Accumark. Rất nhanh và tiện lợi.
Phần mềm mình sử dụng để làm bài hướng dẫn là Gerber Accumark Pattern Design V10, nhưng với các phiên bản cũ hơn cũng có chức năng này.
Để sử dụng chức năng, ngay trên phần thiết kế Accumark Pattern Design.
Các bạn vào Menu File => Chọn chức năng Process Costing Marker.
Cửa sổ phần Costing Marker sẽ hiện lên, các bạn nhập Size, số lượng, khổ vải, nhóm vải.
Nếu chọn Easy Marking và AutoMark Edit chương trình sẽ tạo luôn sơ đồ và tự động tính toán giác sơ đồ luôn.
Bấm OK để bắt đầu.
Sau khi phần mềm chạy xong, sẽ hiển thị sơ đồ và toàn bộ thông tin sơ đồ + định mức để các bạn tham khảo.
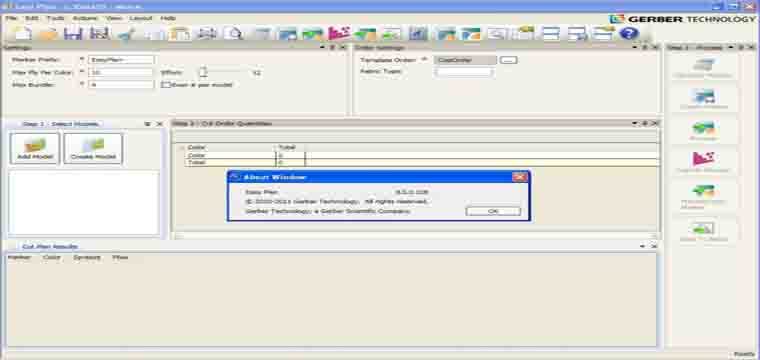
Đồng thời phần mềm cũng sẽ tạo file sơ đồ bên phần Easy Marking.
Nguyên gốc nội dung hướng dẫn trong tài liệu Tiếng Anh của phần mềm.
Process Costing Marker
This function will create a costing marker from the model in the current work area. The size(s) requested must be one of the sizes available in the model size range.
To Make a Costing Marker:
- From the File menu, select Process Costing Marker.
- In the dialog box that displays, fill in the following information:
Size: type in the name of the size desired in the marker. Use a comma to separate size names if multiple sizes are requested
Quantity: type in the number of bundles to be included in the marker
Width: type in the cutable width of the material
Fabric: click the lookup or type in the codes of the fabric from the model. Multiple fabric types can be selected. If more than one fabric code is entered, a separate marker will be created for each fabric code. If no fabric code is typed in, all the pieces in the current model will be included in the marker.
Easy Marking: if this box is checked, Easy Marking will automatically be launched
AutoMark Edit: if this box is checked, AutoMark will be used to lay the pieces in the marker. If this box is left unchecked, the user will lay the pieces in the marker.
Fabric Cost: enter a cost for fabric if available.
Fabric Weight: enter a fabric weight for costing if applicable. - The Easy Marking window will be displayed. If AutoMark was chosen, the pieces will already be placed in the marking area. If AutoMark was not chosen, pieces can be placed by clicking on the piece at the top of the screen and then clicking and dragging it into the marking area. For more information about Marker Making, see the Grading and Marking training guide.
- If the marker was manually nested or edited, go to the File menu and select Save. The Easy Making window can be closed to return to Pattern Design.
In the Order Editor that displays, fill in the following information:
Marker Name: type in COSTORDER.
Fabric Width: type in the cutable width of the material.
Laylimits: use the lookup button on the right side of the box to choose a Lay limit table from the storage area. For more information about Laylimits, see the Grading and Marking training guide.
Annotation: use the lookup button on the right side of the box to choose an Annotation table from the storage area. For more information about Annotation, see the Piece Plotting section of this book or the Grading and Marking training guide.
Notch: use the lookup button on the right side of the box to choose a Notch table from the storage area.
When finished, go to the File menu and select Save. Close the Order Editor window.
Chúc các bạn thành công !


i need tutorials in english animation, can you do for me? what is your price for that, i want to learn. i have 3d in my factory, no body teaches