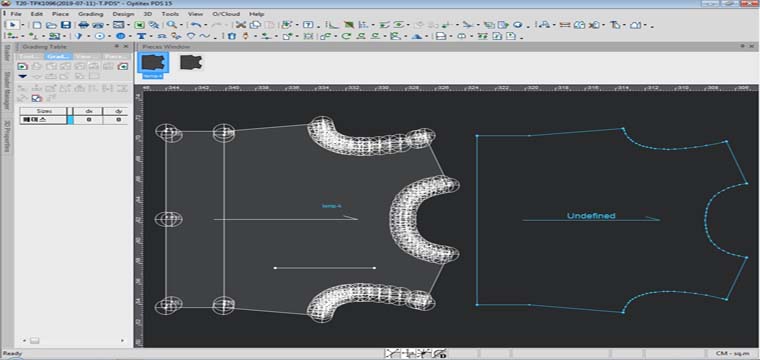
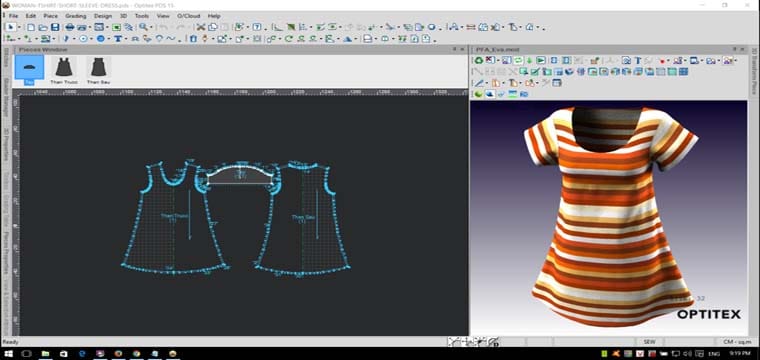
Trên phần mềm thiết kế thời trang, giác sơ đồ vi tính Optitex, khi các bạn gặp loại vải kẻ sọc, thông thường sẽ giác thủ công để canh sọc.
Nhưng nếu các bạn muốn làm việc này một cách tự động, chuyên nghiệp hơn thì Optitex cũng có hổ trợ giúp các bạn.
Chức năng này muốn sử dụng được, cần kết hợp thiết lập trên Optitex PDS và Marker.
Trên Optitex PDS, sử dụng chức năng Fabric and Stripes => Stripes Group hoặc Relate PieceTo Stripes.
You can use the Relate Piece to Stripes tool when you want to align pieces on the fabric. Before you can relate pieces to stripes, you have to create stripes using the Grid and Stripes tool.
Also, make sure you have a notch or button with a stripe adjust number defined, allowing you to change the position of the notch/button according to the stripes.
Location Menu: Piece>Fabric and Stripes> Relate Piece to Stripes.
To use the Relate Piece to Stripes tool:
1 – Define the Grid And Stripes.
2 – From the main menu, go to Piece > Fabric and Stripes > Relate Piece to Stripes.
The Relate Current Piece to Stripes dialog is displayed.

3 – Select the By X checkbox, if you want to define a value on the X axis, and then enter the value.
4 – Select the By Y checkbox, if you want to define a value on the Y axis, and then enter the value.
Note: You do not have to define on both the X and Y axis, you can select only one as well.
5 – You can use the arrows at the bottom left of the dialog to change the direction either clockwise or counter clockwise.
6 – Click OK to fix the match point.
The match point is fixed according to the X and Y stripes.
Sau khi thiết lập xác định vị trí cần bắt điểm sọc trên rập ở Optitex PDS xong các bạn sẽ chuyển qua phần Optitex Marker, tạo sơ đồ, tạo kẻ chu kỳ sọc.
This command is used to define stripes, plaids or any other design that repeats on the Marker. The Stripe Definition option is used to ensure that your piece will be cut correctly with the repeated design. You must have “Stripes” turned on, otherwise you will not see stripes on the Marker table, go to View > Stripe Lines.
The colors of the stripes can be defined in Preferences > Colors > General.
Location Menu: Marker>Fabric and Stripes>Stripe Definition.
To define stripes:
1 – From the main menu, go to Marker > Fabric and Stripes > Stripe Definition.
The Stripe Definitions dialog appears:

2 – In the Stripe Start Point fields, enter the X and Y position of the stripe’s starting point. The X Start distance value is used to define the beginning of the first X stripe (plaids). This is measured from the left edge of the marker. The Y Start distance value is used to define the beginning of the first Y stripe. This is measured from the bottom line of the marker.
This field is also used to define irregular stripes or additional stripes and plaids sets. You can create few stripes and plaids systems on the marker that by creating different start point. Separate the numbers in the start filed with commas to define as deferent start point. Every start point will be considered as a separate lines system.
3 – In the Plaids (Vertical) area, in the Repetition Distance field, enter the distance between the vertical stripes.
4 – In the Vertical Angle field, if an angle other than 90 degrees is needed, enter the desired angle degree here.
5 – In the Stripes Horizontal area, in the Repetition Distance field, enter the distance between the horizontal stripes.
6 – In the Horizontal Angle field, if an angle other than 90 degrees is needed, enter the desired angle degree here.
7 – Select the Stripe Adjust according to Bundles only checkbox, if you want that files include bundles will match all the sets to the stripes in the same way as the first bundle is placed.
8 – If you want to manually change the repetition distance, you can do so in the A,B, C, and D fields.
9 – Click Ok when you are done.
Relate Piece To Stripes
This command is used to align pieces on the fabric according to defined stripe lines. The matching is done per piece, for example, every piece is related to the stripes – this way all the pieces will match properly. Make sure to relate a piece only on the necessary axis (X or Y), so when nesting, results will be improved.
Notes:
It is possible, but not recommended, to relate a piece with no stripe adjust notch/ button.
It is possible and recommended to define the stripes and the Stripe Adjustment in the PDS. For more information, see Relate Piece To Stripes.
Location Menu: Marker>Fabric and Stripes>Relate Piece to Stripes.
To relate piece to stripes:
1 – First, you have to define the stripe’s definitions, see Stripe Definition.
2 – Next you have to enable stripe adjust. From the main menu, go to Options > Stripe Adjust.
3 – Place your pieces on the Marker table.
Optional but recommended: Make sure a notch/ button with Stripe adjustment is present on the selected piece(s).
4 – From the main menu, go to Marker > Fabric and Stripes > Relate Piece to Stripes.
The Relate Piece to Stripes dialog appears:
This dialog is dynamic according to how you defined the stripes in the Strip Definition dialog; therefore the content is according to what was defined. For example, if you defined an X distance, then you can define the distance for the piece at the X axis, if not the Use X checkbox will be grayed out. In the example below the stripes were defined with an X distance only; therefore the Use Y option is disabled.

5 – Define the X and Y values according to what was defined earlier. Select the Use X checkbox, then in the X Distance from Intersection field, enter the X value.
6 – Select the Use Y checkbox, then in the Y Distance from Intersection field, enter the Y value.
Or
You can use the double arrows to change the X/Y distance by moving the piece.
7 – If your piece contains multiple notches/buttons, you can select a match point according to a specific object. Select the object from the drop-down list and adjust the piece according to the object.
8 – Click Test View to view a preview. If you make changes using the double arrows, the preview updates automatically.
Công việc tiếp theo các bạn có thể giác tay như thông thường nhưng lúc này các chi tiết đã được xác định vị trị điểm bắt sọc sẽ tự động bắt vô điểm canh sọc trên sơ đồ, hoặc các bạn có thể chạy chế độ giác sơ đồ tự động AutoNesting-Match.
Để hiểu rõ hơn về chức năng này, xin mời các bạn xem video Giác Sơ Đồ Tự Động Bắt Điểm Canh Sọc Optitex 17 Marker AutoNesting-Match dưới đây:
Chúc Thành Công !


đang tìm cái này, cảm ơn